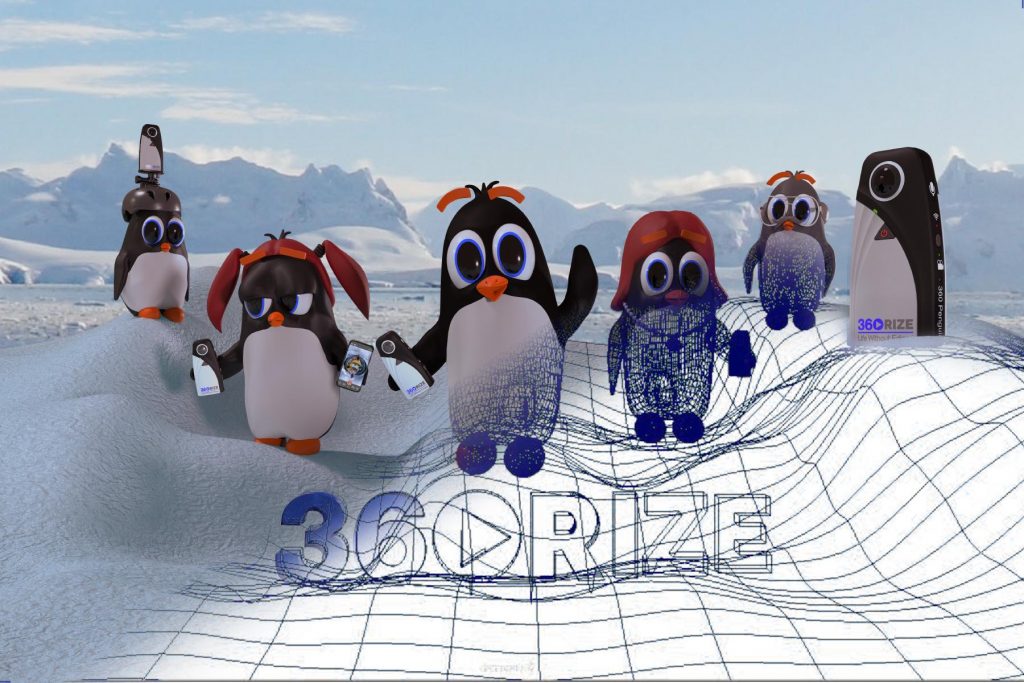
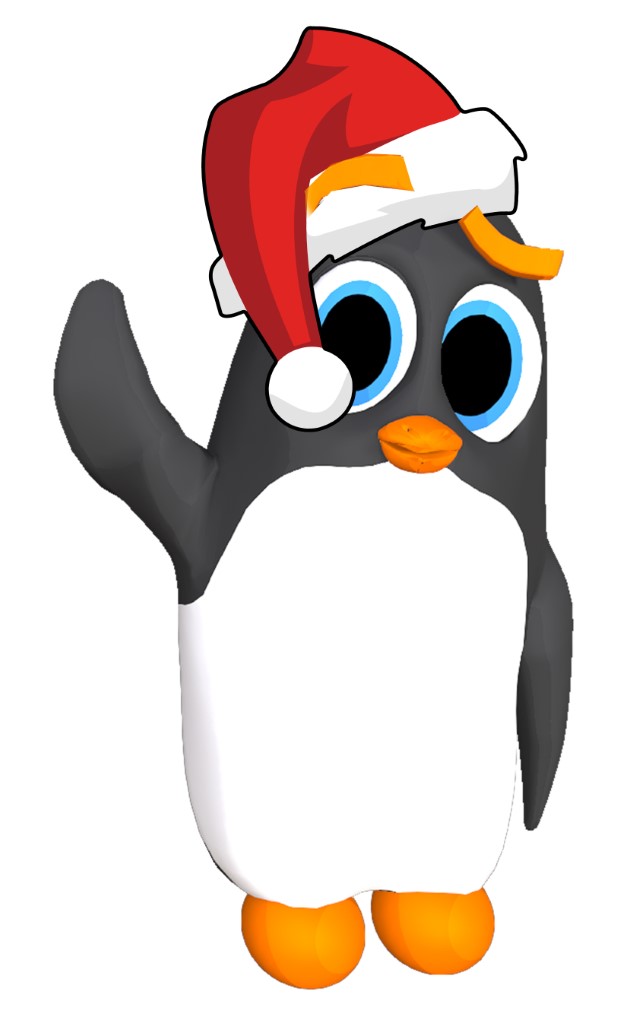
 By now, you have seen our cute camera mascot, Chillin the Penguin. He and his family are the animated spokespeople for the 360Penguin and they’ve had quite a journey to become who they are today!
The animation process, even by the best 3D animators in the business like ours, is a painstaking and intricate process. That’s why the big-budget, blockbuster movies with animation involved have an animator credit list that seems to take forever to scroll.
Since we work in that world each and every day, we wanted to offer you a glimpse behind the curtain and let you see what it takes to make Chillin come to life and become what seems like a living penguin to represent the 360Penguin.
Concept
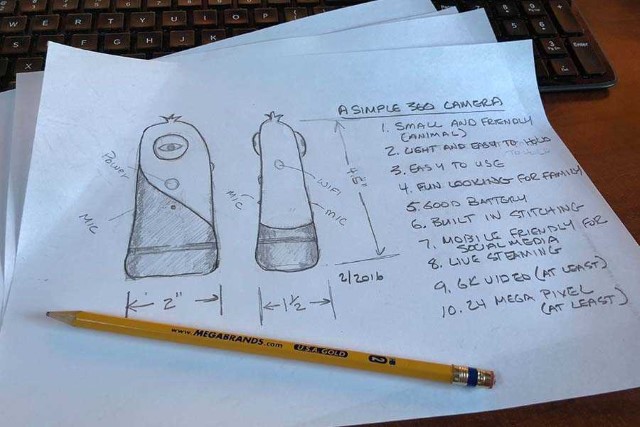
First, the camera looks like a penguin. Chillin was born of this design. The artists that work for 360Rize took the time to sketch out different views and concepts of what Chillin was going to look like. It took some time. Nothing was left out, the good, the bad, and the outright ugly were all considered. The top three designs made the cut.
We use the industry standards when it comes to our software. When we had a good idea of what we were looking at for a design we started to build the digital concept in a couple different programs. Adobe Illustrator gave us the ability to build the basics and to create a higher resolution of what we wanted.
Once that was nailed down, we took that design into Autodesk Maya, a 3D animation software that let us bring Chillin to life! There’s a general process when creating animation on this level. The steps are Model, Texture, Rig, Animate, and Render. See it all come together in the video below!
Working through the steps
Modeling
Modeling is a process similar to creating Chillin out of a block of clay, but on a computer. We put the shapes together with what we call vertices. These are the points we use to pull and form, just as you would with a chunk of clay, to make our shape.
Texture
Next, we add texture. This is where that grey mass takes on appearance of the character we are forming. This is where Chillin got his color. This also involves a process called UV editing, this is what gives Chillin his texture. We first “unwrap” him, so we see his vertices laid out flat. Like unzipping a a coat and laying it on a table. we take this layout and paint whatever color texture we want in a program like photoshop. Once that’s done, we apply the texture to Chillin, which is like putting on your coat and zipping it up.
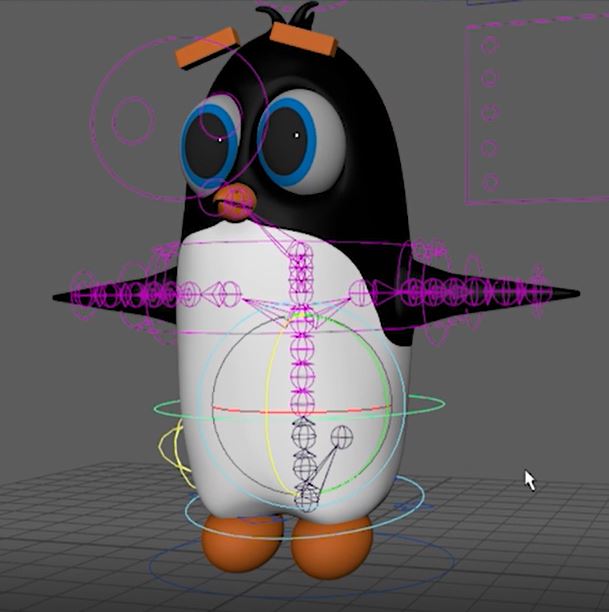
Rigging
Now that the coat is on, we move to rigging. If you are familiar with a marionette you have the general concept of what rigging is all about. We attached digital controllers to the “bones” of the character to be able to move those bones and make lifelike movement.
Animate
There’s no point in having those strings if we don’t add some movement. Now we move to the animation side of the process. This is where we pull the strings to make the parts move. Chillin has no button to tell him to walk or to wave. We have to move each of these parts individually, motion by motion, to create the full sequence. Lifelike movement is important. To be able to do that our animators need to have an understanding of how a living thing moves, how to breathe life into anything. All of the best software in the world is useless if the person running it has no clue as to how to make the movement look realistic.
Render
The last step of the process is to put it all together and have it ready to play. This stage is called rendering. We add lights and make sure our staging with the camera is right, then we tell the computer to render. That process takes into account our texture, animation, model, lighting and spits out a final image, which is the end product the viewer see’s.
There you have it! That’s how Chillin has become a living piece of 360Rize’s 360Penguin story.
You must be logged in to post a comment.