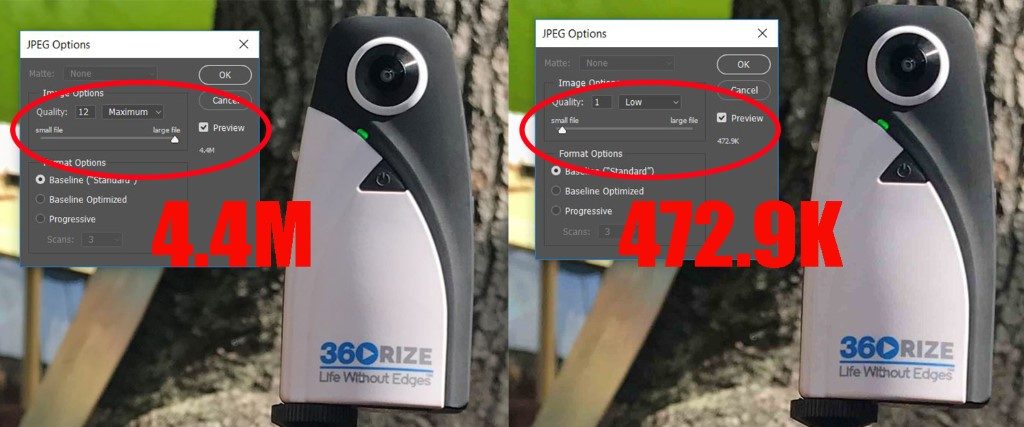
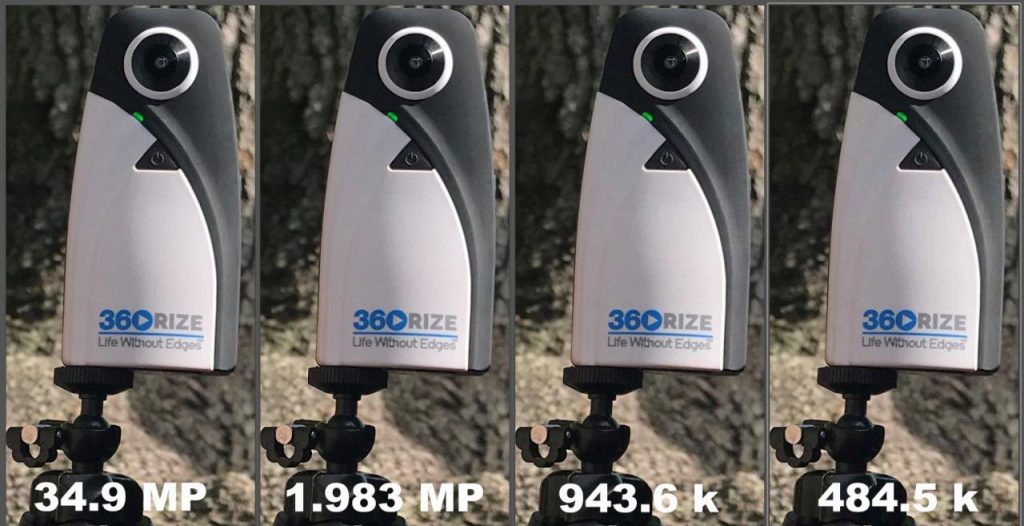
 So, while you are out filming your awesome 360 videos and it comes time to upload to your favorite social media platform. Did you know your video or photo goes through a compression process before it goes live on your platform of choice? You may notice that it looks a little different between the photo you are viewing on your phone and what you uploaded. There is a slight dip in quality. It’s because of compression.
What is this Compressison Thing?
Compression is a way to make the size of your file smaller and easier to upload and view in a player.
This is done using a codec. Social media platforms have different codecs and settings they use that work best for that site. Your video or photo will automatically be compressed using that standard. So generally, you won’t have to worry about setting up the codec and messing with the settings manually.
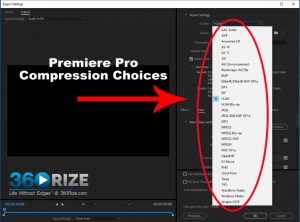
If you want to take your videos or photos further and edit them in a program like Photoshop or Premiere Pro, you will need to know the basics of compression. Compression happens when your software uses an algorithm to remove unnecessary data, such as repetitive pixels. From here it creates a new file based on the format you told it to compress to. MP4 is a common format for video. Jpeg is the most common for photos. The new file will be noticeably smaller and viewable in a player or photo viewer. Some formats, like JPEG, allow you to choose how much compression to add.
So, How do I do this?
 One of the most commonly used codecs today for video is H.264 this does a good job of making the file smaller but maintaining the best quality possible. As technology grows and we are able to film and view higher resolution videos, compression algorithms must evolve as well, one relatively new codec is H.265. This is the new kid on the block and its ability to compress incredibly large files, this type of codec is what needs to be used if you are wanting to film at resolutions 6k and above, which the 360Penguin can do.
Sometimes You Need to Go Back to the Drawing Board
Remember, the goal of choosing the right format is to make your file size smaller while maintaining the best quality possible. This is best done when you are working with your raw, straight from the camera files. If you’re working with a file that is already compressed, once you’re done editing and go to export, your file will be even smaller with a much more noticeable dip in quality. It’s like baking a cake after its already been baked, it’s not going to be pretty. If you find you want to make changes to your video or photo, always go back to the raw files that you have. This way you will maintain good quality and when you go to upload, your project will still look good!


You must be logged in to post a comment.